Search This Blog

Monday, March 27, 2017

Working on the body a bit

Decided it was time to clean up the body a little bit, got the sideskirts all installed, modified an undamaged set of fenders to allow for a fender that is part of the hood/bumper assembly, as well made some brackets to support the upper part of the sideskirt and support the new hood design. Lastly spent more than few hours inlaying the different hood components, attaching the fenders to the hood, fixing the gap in between the hood and the bumper, making trim pieces for the lights and lastly adjusting the height of the lower impreza bumper and fastening it to the upper fiero part. Now that I've done all that I can clearly see what the front end will look like, and I like it..........now the fun part starts, I gotta make a mold of the entire front end and replicate a one piece assembly.

Still have a few mechanical things to clean up though, she needs some windshield wipers, need to look at the hinges for the engine bay, they are bending due to the pressure from the gas struts, needs some turn signal lenses in the front of the impreza bumper, couple lights are missing in the rear, more than a few blown bulbs and most importantly an intake filter and support brackets to hold up the turbo.

Lastly, took Yu-Ju for a rip in it :)


Friday, March 24, 2017

More progress

Getting closer and closer to actually having a licenced legal car soon, windshield is in, new/used sideskirts are being installed, new fenders to replace the broken ones are being modified and installed, gotta mount and hook up the ION windshield wiper motor to the stock Fiero assembly soon and various other odds and ends (an air filter on the turbo inlet probably would be a good idea sometime soon). When the weather turns and gets just a couple degrees warmer I'll need to get her outside and start fiberglassing the full front clip, plus making the pieces for the rear deck lid/trunk.

Also broke one of the shifter cable mounts (only tack welded, forgot to fully weld it before painting, oops), but it was a blessing because I had a small problem with the other, the solution fixed the broken mount and the other cable issue all in one shot.


Thursday, March 9, 2017

Almost time to drive it.......

It's getting closer and closer, actually going to drive the car on Saturday if everything goes well. Right now the brakes are complete, small leak on one caliper to track down and seal. I adjusted the alignment a bit, wheels are on, only thing to complete is the clutch connection and bleed the clutch (was missing the seal on the top of the transmission). Also finalized the steering setup, hopefully my steering angle issues that I had are fixed now, last of the mechanical items before I drove the car was to hang the exhaust with the proper hangers (not just rope around the frame).

Worked on a couple non mechanical items, started installing the wiper motor assembly, designed and test fit the new floor plug pieces, printed them in TPU (thermal polyurethane) so they are flexible, came out really nice. Also designed my logo for the car and printed a test piece, need to print a couple more, lastly I finally got around to mounting the wheel well vents in the fender/hood. Keep in mind the body mods are just there so that I can create a mold and build everything as a single piece unit and in time will be a smooth perfect finish........for now it's alum tape and tek screws.


Monday, February 27, 2017

It's ALIVE!!!!

Well the day finally came, new fuel pump installed, fuel tank repaired........rolled it under the car, hooked up the fuel lines and time to fire the beast up!


Now that major hurdle is completed now time to finish off all the other items and get her driving.

On top of getting the engine running, I was able to get the exhaust properly hung, steering rack is now properly mounted and it seems to have repaired the Ackerman angle that was badly out, also had to swap some brake lines around due to some incorrect advice on location of lines on the GM splitter block, also picked up a new windshield washer tank from an older Super Duty Ford pickup.

What's left, alot but it seems so manageable now, this week gotta get the brakes bled, clutch filled and bled, go around and tighten/rough align the suspension, fix a coolant leak, fill coolant, brake/clutch line support brackets need to be installed, put some wheels on and take her for a drive around the block!!


Friday, February 24, 2017

Them's the brakes.

While I'm waiting for the fuel pump to arrive (on my desk this morning) I figured it was a good time to get some brakes and clutch lines created and run, last night I finished running all the lines, still need to make some brackets to mount them to the body and frame, sounds like another job for the 3D printer. Still need to bleed the brakes/clutch and for some reason I'm missing my brake master cap......Lastly I took apart my steering rack mounting as my Ackerman angle was completely out by a mile, I realized that the bracket I had made pushed the rack too far out and was messing up all the geometry, once I had cust the factory 88 steering rack brackets off I realized that the Mustang2 mount points would mount nicely into the subframe bracket, just gotta drill two holes, clean up and repaint the frame, then bolt into place.......doing so also fixed the problem of my steering shaft rubbing the body a bit and also the coolant hose, so it became a triple problem fix.

Monday, February 13, 2017

Failure to launch

So this past weekend was full of failure.......but also promise and a blessing in disguise.

Started with changing the oil, putting coolant in, replacing the battery......oil went fine, battery same, coolant was a different story, unfortunately I had cracked an alum housing when I did the tapping for the turbo coolant connections.......fortunately I have a spare and I can do it off the car for this one, also this won't stop the car from being started.

Then I filled with gas, no problems there, tried to prime the fuel, this is where it all went downhill.....no go, blowing fuses, tried to jump it a few times to free it up.......notta, she wasn't having any of it. After a hour of trying I gave up, then I tried to crank the engine.......still no go, solenoid wasn't activating, starter was turning very slow, time to pull the starter and bench test.

Stopped for Saturday, wake up Sunday to the smell of gas throughout the house, rush out to find the gas tank leaking, didn't leak at all the day before, there was a small, very small pinhole in the side right under the rubber gasket between the strap and the tank, took about 12 hours to eat through the paint and rubber before leaking on the ground........rush to drop the tank, drain the remaining gas out.

This is where the blessing is, already had to drop the tank for the pump (replacement on order, week out), now I have to patch the tank. Did the bench test on the starter, wasn't working, decided to take it apart to find out why, basically full of crud from years of sitting, cleaned it out, loosened up the bushings, re-lubricated it and works good. Bolted the starter back in, dropped a little oil into the cylinders with teh plug removed, cranked her over and built 40psi of oil pressure.

Also since I had to jack the car high up for the tank now I can run the brake, clutch lines, start doing a rough in alignment of the suspension, figure out my Ackerman steering angle problem, muffler hangers and a few other things under the car that needed done, since these aren't done it's not like I can run the engine for long or take it for a drive so startup when the pump and tank are repaired will be a jackstand start.

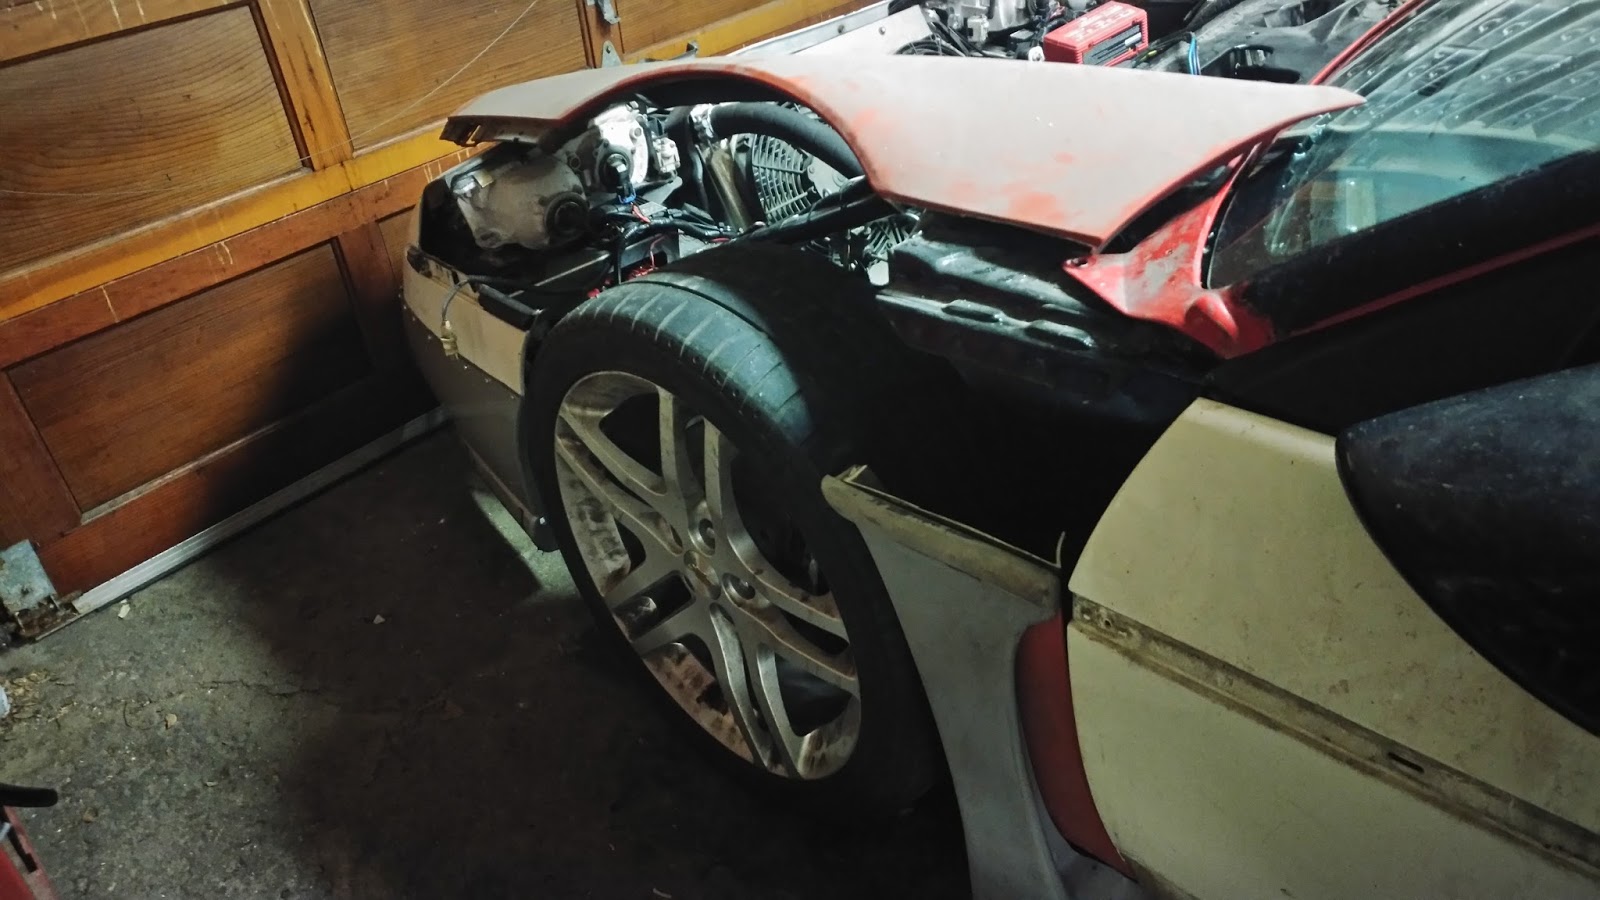
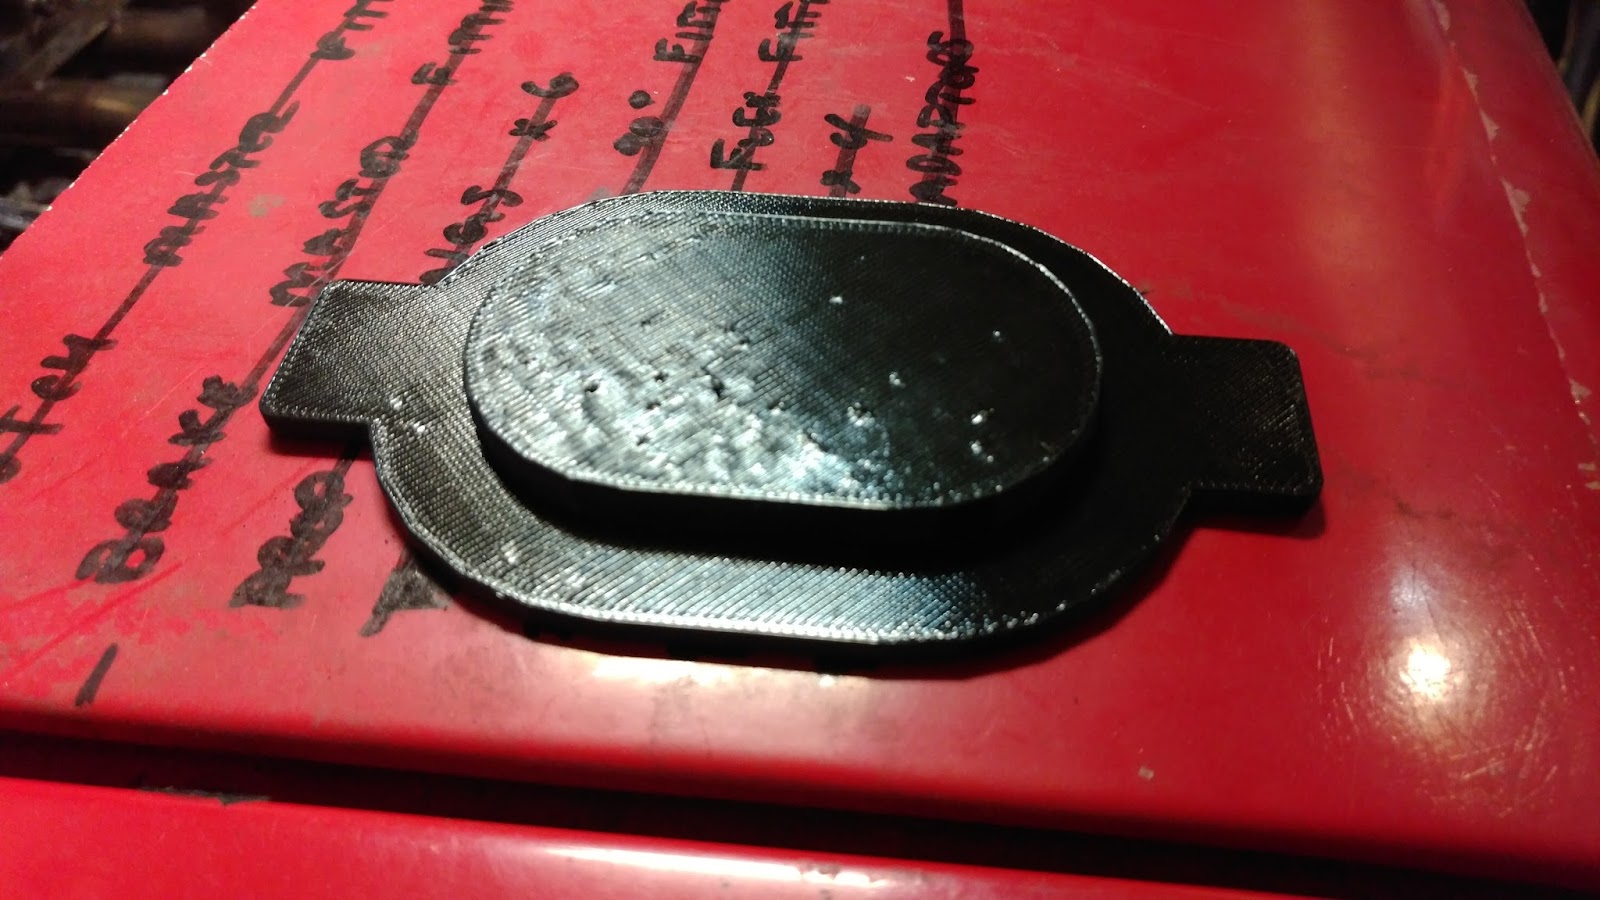
Not much in the way of pictures from this weekend, unless you want to see a Fiero on jackstands (better than seeing a Fiero beside a firetruck, haha) but I did get a little something done on the 3D printer for her.


Thursday, February 9, 2017

Ready......Set.......

Getting closer and closer to firing up the engine, last night I finished the wiring to the fuel pump and sender unit, now to toss some fuel in and see if I have pressure plus test for leaks. Also I finally got around to modifying the steering wheel adapter so that I can add my steering wheel disconnect. Lastly since the wiring harness in the car is from a 2004 Saturn ION Redline the car now comes with remote door unlock and trunk release, I wanted to install the ION key on the trunk but reality is that it would have been too difficult so I'm going to be sticking with the keyless trunk release as my battery is in the front. Because of this I got to use my 3D printer again to print a trunk keyblock piece, came out nice, pretty solid as well.

On to some pictures........first ones are for fun, its amazing what stiff sway bars and a solid strong chassis can do on a jack!